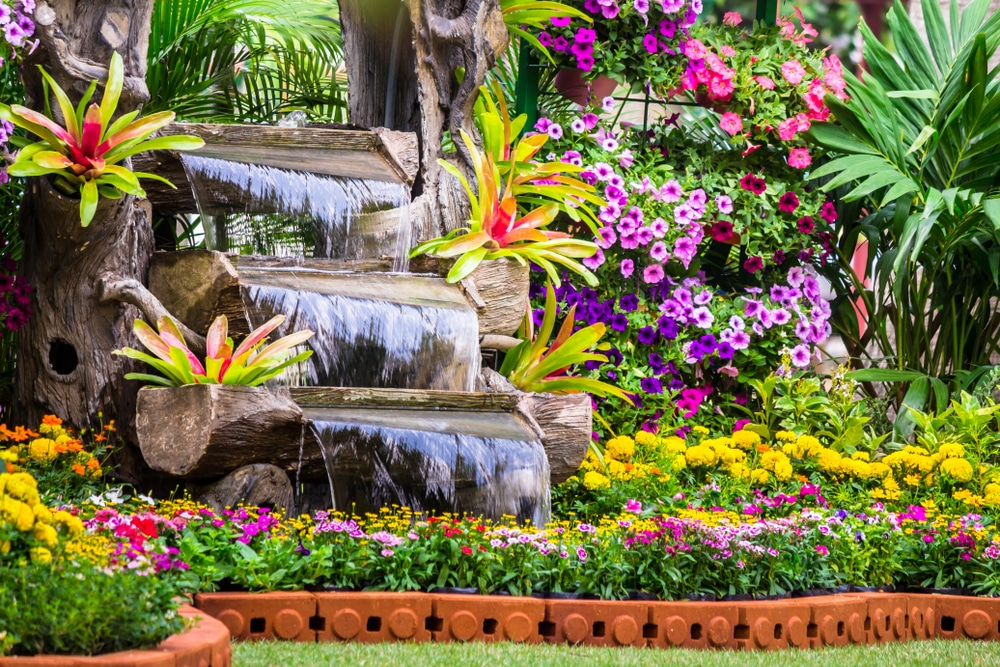
In planning an outdoor waterfall, you must consider two things: the pool into which the water falls and the waterfall’s cascading form. You’ll utilize a pump in the pond to keep water recirculating from the pond to your waterfall’s top, where it will plunge back down to the pond.
Waterfalls can be found in a variety of forms and sizes, and provide an ideal focal point. When considering your design alternatives, the most important factor to consider is how to make the waterfall tall enough.
If you don’t already have a GFCI (ground fault circuit interrupter) outlet near the location of your pond and waterfall, install one before digging for an outdoor waterfall. To ensure that your excavation for an outdoor waterfall and pond does not damage any underground utility lines, call the Dig Safe phone number.
Building Your Waterfall
Dig the Pond
Remove the dirt from around your liner’s intended location. To make shoveling easier, flip the pond liner over on the ground, upside-down, where you want it to be and draw a circle around it.
Using a carpenter’s level, make sure the depth and diameter of your waterfall pond’s hole are comparable to those for your preformed liner. Place the preformed liner in the hole for the waterfall pond. Check to see if it’s flat by laying a carpenter’s level on top of it (front to back, as well as left to right).
Build the Waterfall
When the pond is finished, one of your two structures will be done. Now it’s time to shift your attention to a more fascinating structure: the waterfall design. And that necessitates looking at the pebbles you’ll be using again.
The most crucial rocks are the spillway rocks, which are the ones directly above where the water will flow. The spillway rocks should be as smooth as possible. They also need to have sharp, square edges. Water will run more smoothly over such edges.
After laying your first course of rocks in the front, cover them with a sheet of black plastic that is 4 feet long and 3 feet wide. The plastic serves the same purpose: namely, to catch more water than the rocks alone could and funnel it into the pond.
Lay the Rocks and Work With the Tubing
Thread your tubing through the rocks. It’s standard practice to stagger the seams when constructing rock walls. Of course, because these will be very tiny rock walls, this is not a structural issue. Still, if only for the sake of appearance, try to stagger them.
After the first row of rocks in the front, lay a long flat rock across them all. Because this rock’s purpose is to create an overhang, it’s a key component in your cascade design. You’ll use it as a shelf to set your first spillway stone so that the spillway stone extends further beyond the pond.
Place one or more capstones over the end of the tubing and bend it downward toward the pond. The waterfall’s spout, in other words, will find refuge here. As you size up the end of the tubing that will become the spout on the surface of the second spillway rock, you may now better determine its location. Again, pull to lengthen or shorten your tube as needed.
Fill the Pond
You’ve finished preparing the pond for its water. Test the pump’s flow and check for any leaks using the cord from the pump. You’ll need to make several adjustments before you get it right. The goal is to have the waterfall as close to the middle of the pond as feasible, allowing you on both ends of your natural rock waterfall and minimizing water loss from splashing.
Our garden services at Legarden Designs handles every element of the process – from the initial design consultation through the project’s completion. We also provide seasonal reviews and yearly walkthroughs. Contact us today!

